

| Article Objective: To assist users in navigating the Active Platform and Active Workpapers to start a standard compliance job. Context: By the end of this guide, you will be able to add a client group and clients, create a Workpaper binder for the client, import records and documents and reconcile balances. Please refer to the Glossary for definitions of key terms used in this article. TABLE OF CONTENTS |
Linking your Microsoft account
To connect your Microsoft account, log in to the Active Platform at my.businessfitness.com.

Note: It is essential that users connect their Microsoft accounts with Business Fitness so they are able to open documents within the Active Platform in Excel. Without connecting this, users are unable to do so.
Click on the Wp icon.

This will prompt you to link you Microsoft account.
Select Link Microsoft Account and follow the prompts.

Once connected successfully, you will be able to proceed with using the Active Platform normally.
Adding a client group and clients
Navigate back to the Active homepage and click Clients.
Note: If your firm has Active Sync turned on, client and groups will be imported from your practice management software automatically, please skip to the next chapter.
Click + New Client, then Client Group and fill out the mandatory details. Click Add Client Group.


Within the client group page, click + Add Client, fill out the mandatory details and click Add Client at the bottom right.


Creating a Workpaper binder
Within the client group page, find the client you want to create a binder for. Click on the Wp icon next to the client’s name.

Select the type of binder you wish to create (e.g. for year end compliance work, select accounts and tax).
Ensure the dates match to your current reporting year, check that your assigned users are correct, then click Create Binder.

Click Open Now to open the Workpaper binder.


Note: The sources available to you will vary depending on your region. For UK users, sources will only include Excel, Xero and QBO.

Click Continue.

Once back in Active, select the file (this name will always be the same as it is the client data file name – it will not have a year).
Click Add Source.
In the account column section, column 1 will be automatically set as your current financial year, column 2 will be your comparative year.
Click the checkbox Show Adjustment Journals.
Click Continue.

Provide the additional relevant details as required. For users in Australia, ensure that the checkboxes for "Small Business Entity" and "Base Rate Entity" are selected, if applicable.
If you wish to utilise "Account Swinging Behaviour", please click here for further information.
Click Complete.

You are now ready to start preparing your binder.
You will be presented with the 'Bulk Insert' wizard when the binder has loaded. This feature allows you to insert standard Business Fitness worksheets against your trial balance accounts in bulk.
Select No Thanks or Bulk Insert depending on whether you wish to import these or not.

If you choose not to bulk insert the worksheets at the start of the job, you can always bring up the 'Bulk Insert' wizard later should you need from the 'Settings & Tools' screen.

Launching the Excel binder
To open the Excel binder, you first need to have downloaded the Excel add-in from Microsoft Appsource. Refer to the following article: How to install the Excel add-in. Download the add-in and return to these instructions.
To open the binder in Excel, click "Open in Excel".


We recommend that if you have access to two screens, you open the Excel binder on one and the web on the other. Where you are only on one screen, we recommend opening the Excel binder and using the taskpane.
Adding and reconciling records
Firstly, turn on recommendations so that Active Workpapers prompts you to add a particular worksheet against your general ledger accounts.

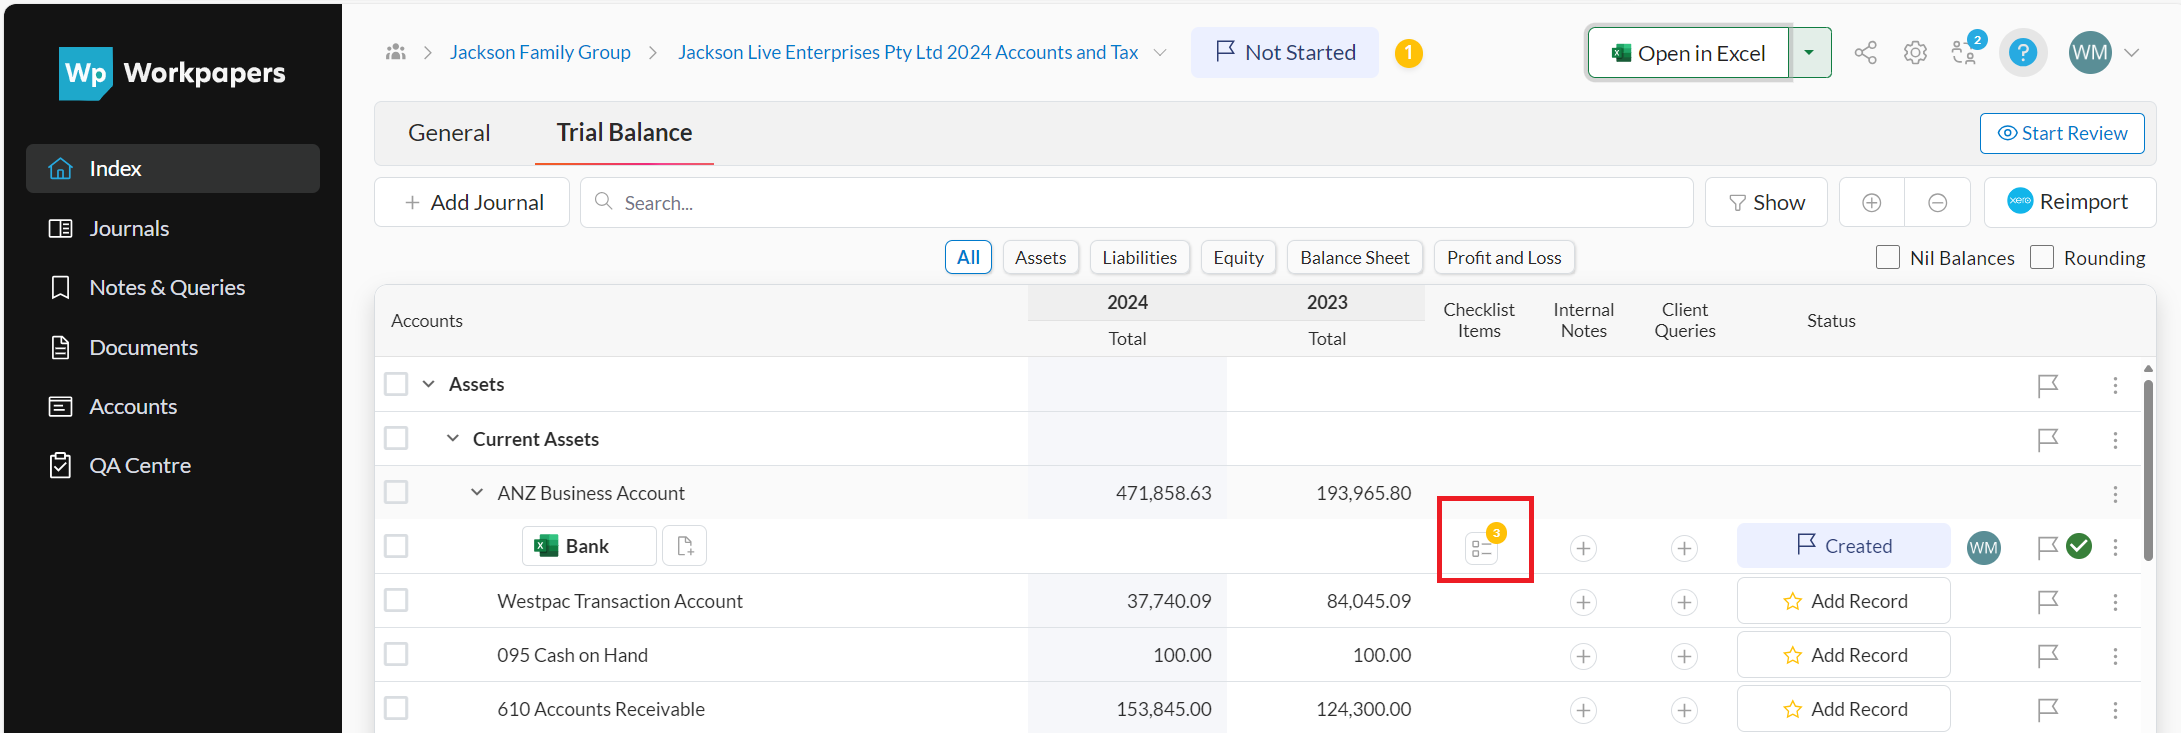
There are various types of records you can add against an account. To get started, click Add Record. 

This will populate the sheet against the account ready for you to reconcile.
To reconcile this worksheet, launch the Excel binder, navigate to the sheet and fill out the required details.
For this example, input the account details and balance per bank statement.

Once the worksheet balance agrees to the general ledger, the reconciliation indicator will turn green on the record template, and a green tick will appear on the index to indicate that there is a two-way match between the record template and the general ledger.

To finalise the worksheet to ensure it is ready for review, select the Checklist Icon and complete the checklist.

Click on the Add Record button then on the + Add Record underneath the Recommendations. A pop-up screen will appear on the screen.


These options are as follows:
- Record template: allows you to choose a standard Business Fitness worksheet you wish to use to reconcile the account
- Link to existing sheet: allows you to bring in or create your own worksheet to reconcile your account
- Comment: allows you to write a comment on the account and choose to roll the comment over each year
- General ledger: where connected to a cloud client accounting file, this record will extract the GL entries for the account for the period and put them in a GL details worksheet against the account
- Link to external value: allows you to reconcile a balance in one set of Workpapers to another set of Workpapers. This is especially useful when you want to reconcile inter-entity loans
- Upload documents: allows you to simply drag and drop a document to use as support for your GL account balance. This will save the source document inside Active Workpapers for ease of review.
Workpaper binder tips
There are a few main tips relating to the Workpaper binder, as below:
- On your initial set up of the binder, before you open the Excel sheet for the first time, if you prefer to see the year you are completing on the right hand side of the trial balance please select column 1 as your comparative and column 2 as your current year
- You can move the worksheets around like you would any other Excel spreadsheet - this will not change the link it has to the trial balance.
Additional resources
If you need help, please refer to the following for guidance:
| Resource | Summary & link |
| Quick start video - Active Workpapers | Click here to learn how to create a Workpaper binder for a client, link a data source, add standard/custom worksheets, and perform account reconciliations |
| Quick start video - Active Platform | Click here to discover how to set up clients/client groups and navigate the Active Platform home screen with ease |
| Training Centre | Click here for user training courses for Business Fitness products |
| Support Centre - AU | Click here for our library of support and user guide articles |
| Support Centre - UK | Click here for our library of support and user guide articles |